고정 헤더 영역
상세 컨텐츠
본문

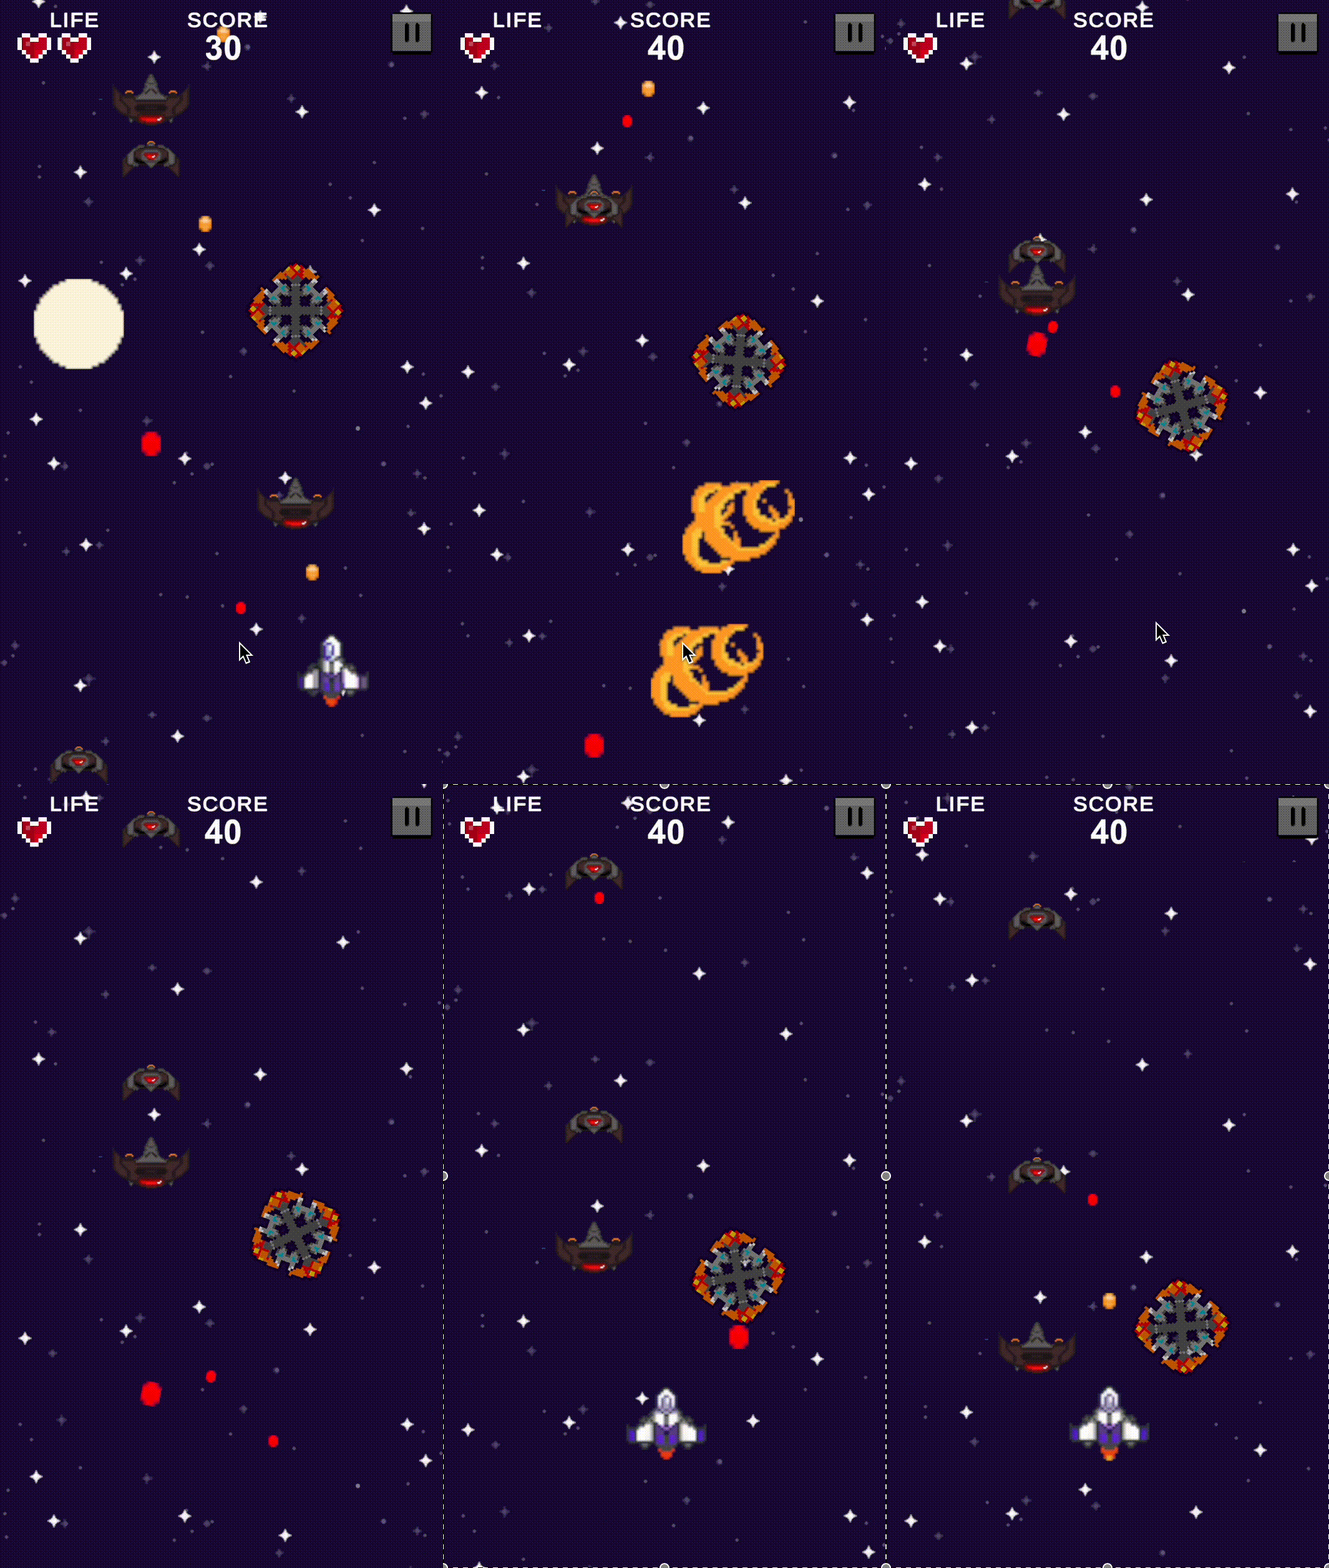
안녕하세요! 이번 포스트에서는 탑뷰 슈팅 게임의 개발 과정에서 추가된 기능과 개선된 코드에 대해 소개하려고 합니다. 특히, 플레이어 캐릭터와 게임 매니저 스크립트에서 중요한 변경 사항이 있었습니다. 그럼 시작해보겠습니다!
1. 플레이어 캐릭터 (Player) 코드 개선
1.1 폭탄 기능 추가
플레이어는 이제 폭탄을 사용할 수 있습니다. 폭탄은 스페이스바를 눌러 사용할 수 있으며, 사용 시 폭탄 오브젝트가 생성되고 일정 시간 후에 파괴됩니다.
public bool canBomb = true;

void Update()
{
    if (canBomb)
    {
        if(Input.GetKeyDown(KeyCode.Space))
        {
            GameObject BulletBomb = Instantiate(Bomb, centerPos.transform.position, centerPos.transform.rotation);
            Destroy(BulletBomb, 1f);
            canBomb = false;
        }
    }
}
1.2 총알 종류별 공격 구현
플레이어의 공격은 이제 파워 레벨에 따라 달라집니다. 파워 레벨에 따라 다른 종류의 총알을 발사하며, 각 총알의 발사 속도도 다릅니다.
private void Fire()
{
    if (curShotDelay < maxShotDelay)
    {
        return;
    }
    switch (power)
    {
        case 0:
            maxShotDelay = 0.7f;
            GameObject bullet = Instantiate(bulletA, transform.position + Vector3.up * 0.5f, transform.rotation);
            Rigidbody2D rigidbody = bullet.GetComponent<Rigidbody2D>();
            rigidbody.AddForce(Vector2.up * speed, ForceMode2D.Impulse);
            SoundManager.Instance.PlayerAttackSound();
            break;
        case 1:
            maxShotDelay = 0.65f;
            GameObject bullet1 = Instantiate(bulletB, transform.position + Vector3.up * 0.5f, transform.rotation);
            Rigidbody2D rigidbody1 = bullet1.GetComponent<Rigidbody2D>();
            rigidbody1.AddForce(Vector2.up * speed, ForceMode2D.Impulse);
            SoundManager.Instance.PlayerAttackSound();
            break;
        case 2:
            maxShotDelay = 0.6f;
            GameObject bullet2 = Instantiate(bulletC, transform.position + Vector3.up * 0.5f, transform.rotation);
            Rigidbody2D rigidbody2 = bullet2.GetComponent<Rigidbody2D>();
            rigidbody2.AddForce(Vector2.up * speed, ForceMode2D.Impulse);
            SoundManager.Instance.PlayerAttackSound();
            break;
        case 3:
            maxShotDelay = 0.55f;
            GameObject bullet3 = Instantiate(bulletD, transform.position + Vector3.up * 0.5f, transform.rotation);
            Rigidbody2D rigidbody3 = bullet3.GetComponent<Rigidbody2D>();
            rigidbody3.AddForce(Vector2.up * speed, ForceMode2D.Impulse);
            SoundManager.Instance.PlayerAttackSound();
            break;
    }
    curShotDelay = 0;
}
1.3 방패 기능 추가
플레이어는 이제 방패를 사용할 수 있으며, 방패가 활성화되어 있을 때 적과 충돌해도 피해를 입지 않습니다.
public GameObject shieldImage;

public void OnTriggerEnter2D(Collider2D collision)
{
    if (collision.gameObject.CompareTag("Enemy"))
    {
        if (!shieldImage.activeSelf)
        {
            SoundManager.Instance.PlayerDeadSound();
            life--;
            manager.UpdateLife(life);
            Instantiate(explosion, transform.position, Quaternion.identity);
            if (life == 0)
            {
                manager.GameOver();
            }
            else
            {
                manager.RespawnPlayer();
            }
            manager.RespawnPlayer();
            gameObject.SetActive(false);
        }
    }
}
2. 게임 매니저 (GameManager) 코드 개선
2.1 최고 점수 저장 및 갱신
게임 매니저는 이제 최고 점수를 저장하고 갱신합니다. 게임이 끝날 때 현재 점수가 최고 점수보다 높으면 최고 점수를 갱신하고, 이를 PlayerPrefs에 저장합니다.
public int highScore;

private void Awake()
{
    if (instance == null)
        instance = this;
    Time.timeScale = 1.0f;

    highScore = PlayerPrefs.GetInt("HighScore", 0);
}

public void GameOver()
{
    isLive = false;
    Time.timeScale = 0.0f;
    nowScoreText.text = scoreText.text;
    gameOverSet.SetActive(true);

    if (score > highScore)
    {
        highScore = score;
        PlayerPrefs.SetInt("HighScore", highScore);
    }
    highScoreText.text = string.Format("{0:n0}", highScore);
}
2.2 적 생성 개선
적 생성 기능도 개선되었습니다. 적들은 랜덤한 위치에서 생성되며, 일정 시간마다 새로운 적들이 생성됩니다.
void Update()
{
    if (!isLive)
        return;

    curSpawnDelay += Time.deltaTime;

    if (curSpawnDelay > maxSpawnDelay)
    {
        Debug.Log("Spawn");
        SpawnEnemy();
        maxSpawnDelay = Random.Range(0.5f, 3f);
        curSpawnDelay = 0;
    }
    scoreText.text = string.Format("{0:n0}", score);
}

void SpawnEnemy()
{
    int ranEnemy = Random.Range(0, enemyObjs.Length);
    int ranPoint = Random.Range(0, 5);
    Instantiate(enemyObjs[ranEnemy], spawnPoints[ranPoint].position, spawnPoints[ranPoint].rotation, EnemySpawn);
}
이번 포스트에서는 플레이어와 게임 매니저 스크립트의 주요 개선 사항을 살펴보았습니다. 다음 포스트에서는 게임의 UI 및 기타 시스템에 대해 다뤄보겠습니다. 감사합니다!


댓글 영역